Tuesday, December 31, 2013

Another Year - Goodbye 2013


Oh my... I cannot believe 2013 is over already!! And I can't believe how much has happened this year...  It's always a bit overwhelming looking back on time gone by, don't you think?

This year feels like such a journey. It was the year in which I started this blog. The year in which I photographed the sky (for three whole months! ;). The year in which I wrote my first tutorials and got many lovely responses. The year in which I had to undergo surgery for the first time in my life. The year in which I rather spontaneously decided to visit Oxford again after five years of absence, and also traveled to lovely Denmark and wonderful Sweden. It was the year of two funerals and one birth.

So yes: 2013 feels more like a journey than previous years. It was filled with pain and love and sadness and joy. I learned a lot. I feel like I'm on the brink of another phase in my life, although I do not know what that next phase might be. But that's alright. Maybe I'll find out in 2014. Maybe I won't. Either way: onward we go! :)

Goodbye 2013. You were wonderful.

Friday, December 27, 2013

How to: Create Your Own Wrapping Paper


Creating your own wrapping paper is so easy, you really don't need a how to... but since I love reading these on other blogs I decided to write one anyway to show you how I made my own wrapping paper this Christmas :) 

So here we go!

Step 1: Supplies


Here's what your need:
  • Scissors
  • Stamps & ink
  • Wrapping paper
  • Optional: labels & piece of string

Regarding the wrapping paper: I think plain brown paper is the best base, so I initially was looking for some sort of kraft paper. I eventually found this red/brown wrapping paper, which is perfect. Just make sure the surface of the paper is not too shiny, otherwise the ink might smudge.

Step 2: Stamps


Now pick some of your favorite stamps! I chose (from left to right): 

For those interested from the Netherlands: I got most of my stamps from the lovely webshop Buiten de Lijntjes

Step 3: Creating the pattern


Cut a piece of paper the size you need for your present, and just stamp rows and rows as shown here to create a pattern. 


And there you have it: your very own wrapping paper :)


Looks cute right? :)


I always love adding a piece of string...


... or a customized label!


I really loved the result :)


I loved it so much I added two rolls of wrapping paper with the gifts :)


So there you have it! Creating your own wrapping paper is super easy, yet really adds something extra and personal to your gifts. 


Hope you enjoyed this little 'How to' and maybe even feel a bit inspired to try this out yourself :)

Sunday, December 22, 2013

Retail Therapy - The Holiday Edition


Hey guys! How are the Christmas preparations going everywhere? :) We are slowly but surely getting into the holiday spirit around here, and it seemed like the perfect time to share a few of the products I've been collecting over on Pinterest these past few months! :) Some I've already bought, some I will buy in the future or maybe even receive as gifts, and some I will just continue to drool over ;) 


Happy holidays!! :)

Tuesday, December 17, 2013

The Ant Stamp


Martin requested an Ant Stamp for his Colony project, and of course I was very happy to oblige :)

Monday, December 16, 2013

My Studio Ghibli Stamps


Yesterday I posted a tutorial on how to hand carve stamps, and today I thought I'd share a few of the stamps I've made. As a huge Studio Ghibli and Hayao Miyazaki fan I found a lot of inspiration in movies like My Neighbor Totoro, Kiki's Delivery Service and Spirited Away. So many amazing characters, and visually so stunning! Oh, how I wish I could draw like that!!! :) 

These stamps are obviously a bit more complicated than the one I made for the tutorial, but the principle is the same. The stamp above of Chihiro from Spirited Away is without a doubt my favorite hand carved stamp. Getting the little details right was such a challenge, and I actually had to start over from scratch after messing up her eyes during my first attempt... 

Here's a look at the stamp itself:


As a huge perfectionist carving out stamps is very challenging. To make a stamp is not difficult at all, but to make a flawless stamp... well, that's a whole different story! The materials are so unforgiving: making one tiny mistake can completely screw up your stamp. 

I had a lot of fun making these stamps though and I love all of them so much! 

No Face from Spirited Away:


Jiji, from Kiki's Delivery Service:


And of course: Totoro from My Neighbor Totoro! :)


Awww... Seeing these makes me want to create more of them!!! Love Ghibli so much :)


Hope you enjoyed my Studio Ghibli stamps! If you feel like making your own hand carved stamp, you can check out my tutorial here.

Sunday, December 15, 2013

How to: Make A Hand Carved Stamp


Hey guys! There are probably a gazillion tutorials out there about carving stamps, but I just love making stamps so much I don't really care. These are the interwebz - there's always room for one more tutorial, right? ;)

So here it is: my tutorial for hand carving stamps! I learned how to make stamps a few years back and I was amazed at how easy it was. You don't need to be able to draw and you don't need many supplies to make your very own stamp. 

Let's get started!! :)

Step 1: Supplies


So, here's what you need:
  • A pencil
  • Tracing paper
  • Rubber carving block or eraser
  • Carving tools 
  • Hobby knife
  • Optional: piece of wood & glue

Carving block or eraser?
I've made stamps using both erasers and rubber carving blocks. When it comes to the carving itself there's not much difference in my opinion: both allow smooth carving. Just make sure the eraser doesn't have a texture that is too 'crumbly' and it will work fine. However, a carving block is often much thinner and therefor easier to glue to a piece of wood, which gives the stamp a very beautiful and professional look :) Love it!!

For this stamp I used the Speedy-Carve block from Speedball. Both the carving block and the piece of wood I bought at Noeks.nl

My carving tools
I started making stamps using the Essdee carving kit. It works fine, but when it comes down to details the cheaper kits aren't precise enough for my taste. I eventually invested in two linoleum cutters from Pfeil. Handmade in Switzerland, baby!! ;) I use the #11 and #12 and they're a dream to work with.

Step 2: Choosing & drawing out your design


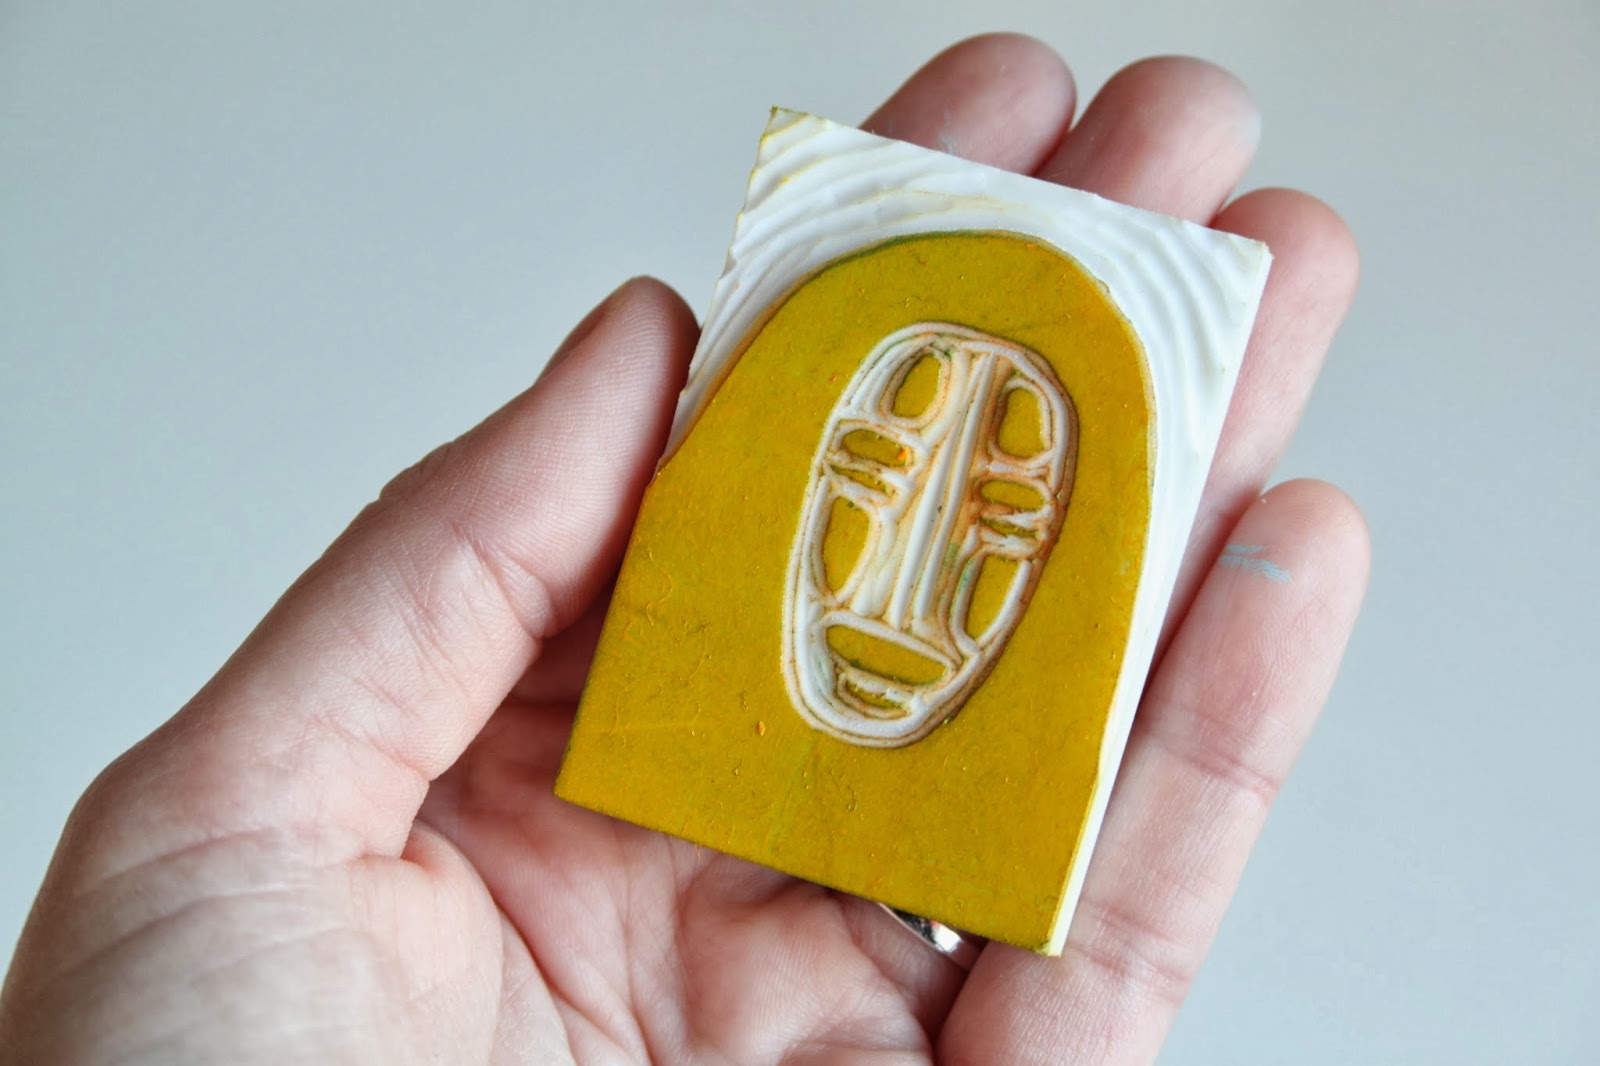
You can make a stamp of anything you like. Find inspiration in books, movies, illustrations or - if you're fortunate - your own drawings! You'll need a print of the design the size you want your stamp to be. Since I cannot draw at all I usually look for pictures online, adjust the size and print the picture - as shown above. For this stamp I used this image

Next step is tracing the image. Use tracing paper (sewing pattern paper also works!) and a pencil to trace the image. Think about what part of the image you want colored/filled and what part you want to leave empty/outline: this will influence the look of your stamp greatly. 

In this case I just wanted a simple black mustache, so I only had to draw the outlines. 

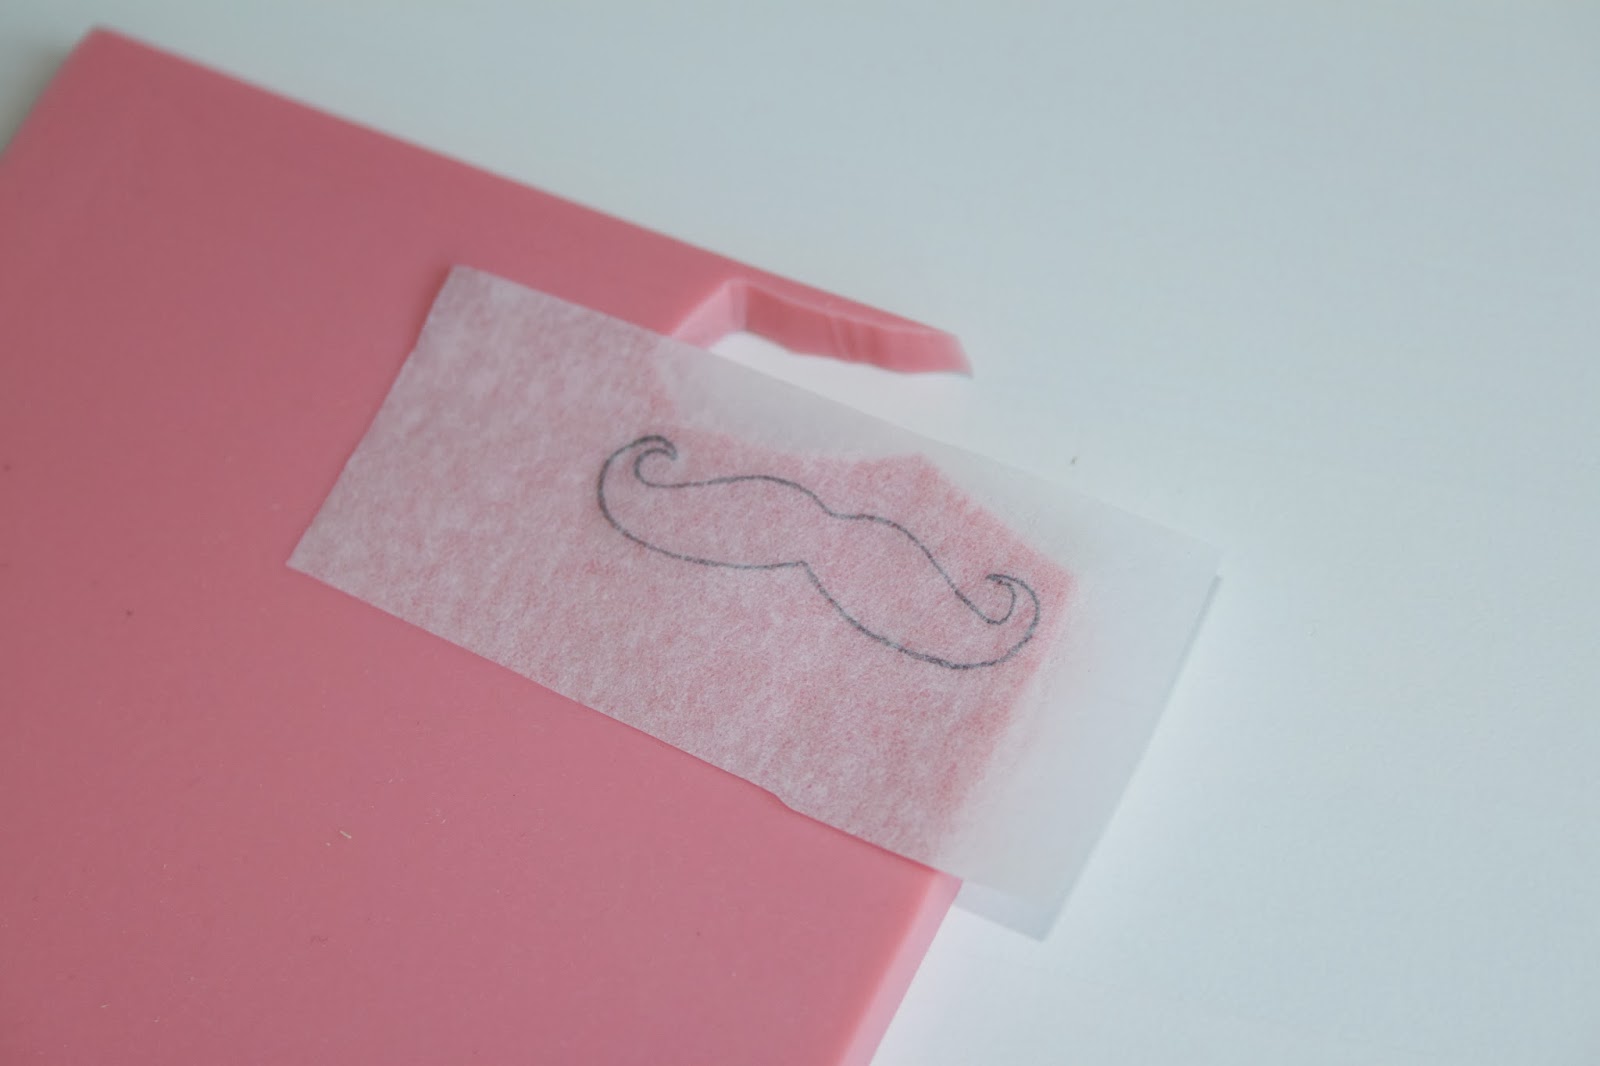
Step 3: Transferring the image to your carving block


Place your tracing paper on the carving block with the pencil lines facing the carving block. In other words: the side of the tracing paper where you drew the image should be touching the carving block. 

Now gently start scratching your fingernail over the image: this will transfer the image from the tracing paper to the carving block.  


There you go! You are now ready to start carving. 

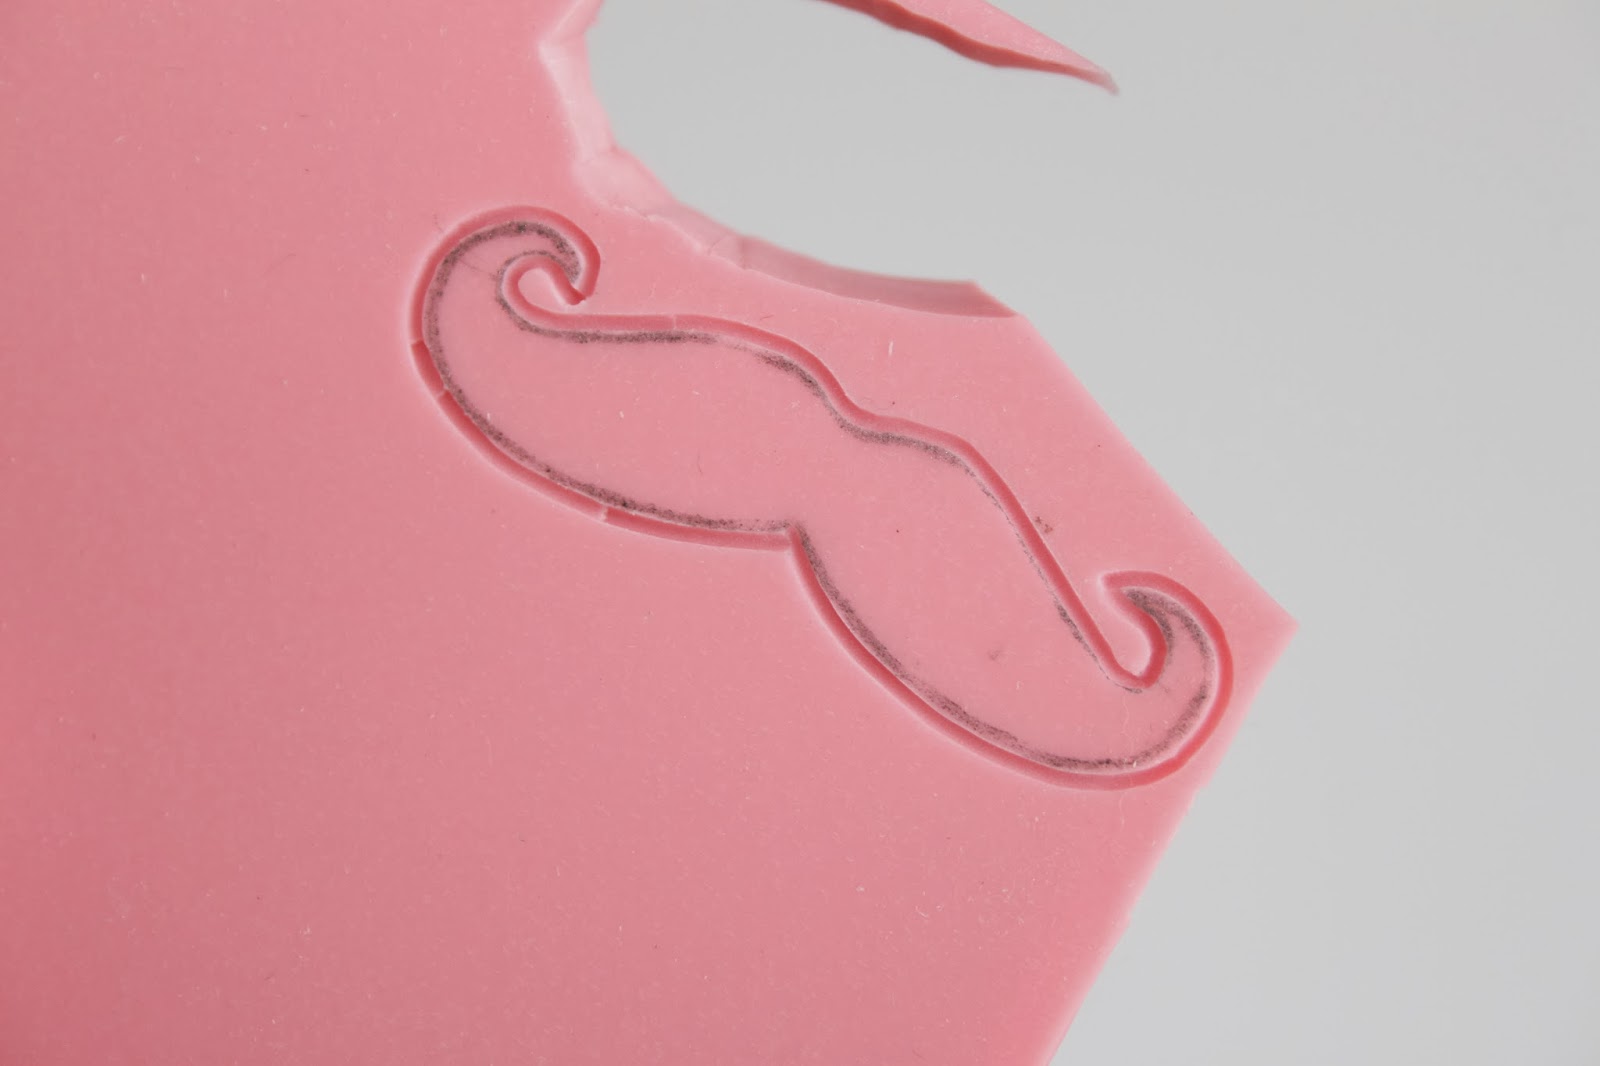
Step 4: Carving out your stamp


Always start with your smallest and most precise tool to carve out a thin outline around the image edges; I always use my #11 Pfeil-tool for this. Carve out thin lines wherever you need them: if you want to create a stamp with only the outlines of a mustache (like this) you'll also have to carve a similar thin line on the inside of the pencil lines. Remember carefully which parts of the stamp you want filled/colored and which parts you want to hollow out/outline in the final result to decide where you need to carve!

With this first step get as close to the pencil lines as you can, but remember: it's easier to take away a piece of carving block later, than it is to restore an error... so be careful!! 


Next step is to further carve out along the edges with a slightly bigger tool; I always use my #12 Pfeil tool for this. In this case I only carved out material on the outside of the drawing, because I wanted my finished result to be a solid mustache. (Of course, if you're going for a mustache outline, you'll have to carve out the middle part as well.) 

Step 5: Cut out your stamp


When you're satisfied you can cut out your stamp using a hobby knife. 

Step 6: Try out your stamp and adjust if necessary 


Now it's time to try out your stamp! Look carefully for any imperfections. Make sure there isn't any carving block outside of your drawing to make ugly stripes around the edges (I personally HATE those  - they make it seem so sloppy...). Make adjustments wherever it's necessary until you're satisfied.

Step 7: (Optional) Glue your stamp to a piece of wood


If you want to attach your stamp to a piece of wood, first stamp on top of the wood. Using ink that's fit for wood will give the best result and will prevent smudging. I used VersaCraft #182 'Real Black' (fit for paper, fabric and wood) for this stamp.  

Use some glue to attach your brand new stamp to a piece of wood... and there you go! Your stamp is done!! :)


I hope you enjoyed this tutorial! As usual I had a lot of fun writing it and if anyone out there finds it at all helpful, that's a nice bonus :) Hope you guys have fun making your own stamps - I know I do :)

Wednesday, December 11, 2013

Flow: Book For Paper Lovers


Hello world!!! :) 

I cannot believe how lazy I've been the past few weeks... Sure I was busy enough with work, journaling, trips to Amsterdam and The Hague, shopping, a Hobbit I & II mini-marathon and of course there was Sinterklaas to celebrate (which is always a big deal here in The Netherlands). I just couldn't be bothered with anything but huddling under a blanket and watching Netflix the rest of the time... I tried blogging about how lazy I felt... but I was just too lazy ;)


This Sinterklaas I got the Flow: Book For Paper Lovers. Flow is a Dutch magazine dedicated to paper, crafts and mindfullness and because of their 5 year anniversary they published this book filled with papery goodness like wrapping paper, labels, prints and more :)


So much fun!! You can buy your own copy here.